This is a step by step guide to installing a WordPress plugin. Plugins are used to add functionality to your website and could be anything from blocking content spam to creating website forms.
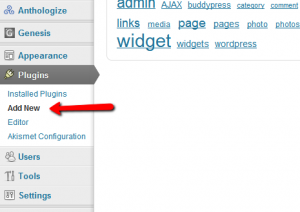
- Go to the Admin menu and select “Plugins” -> “Add New”
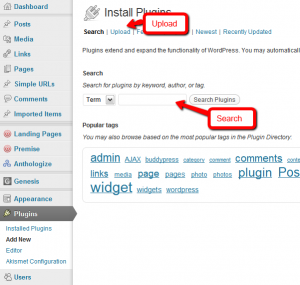
- If you have downloaded a plugin from somewhere select “upload”. If you are going to find the plugin on wordpress.org search for it in the search field.
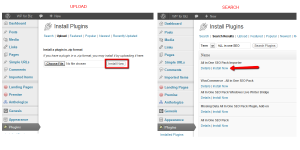
- If you upload select the file from your computer and click “Install”. If you search Select the file from the list and click “Install Now” (alternatively you can look at the details and description of the plugin to make sure it is what you want.)
- The Plugin will install and then (hopefully) say it was successful. It will then give you the option to “Activate” it. If you go to the Plugins menu you should now see it listed there and if you activated it should say “Active” otherwise it will say “Inactive” and you can activate it from there. (If you ever want to delete it you will first have to “Deactivate” it and then “Delete” will show up.


Leave a Reply