To create a new post or page on WordPress, follow these step-by-step instructions:
1. Log in to your WordPress dashboard.
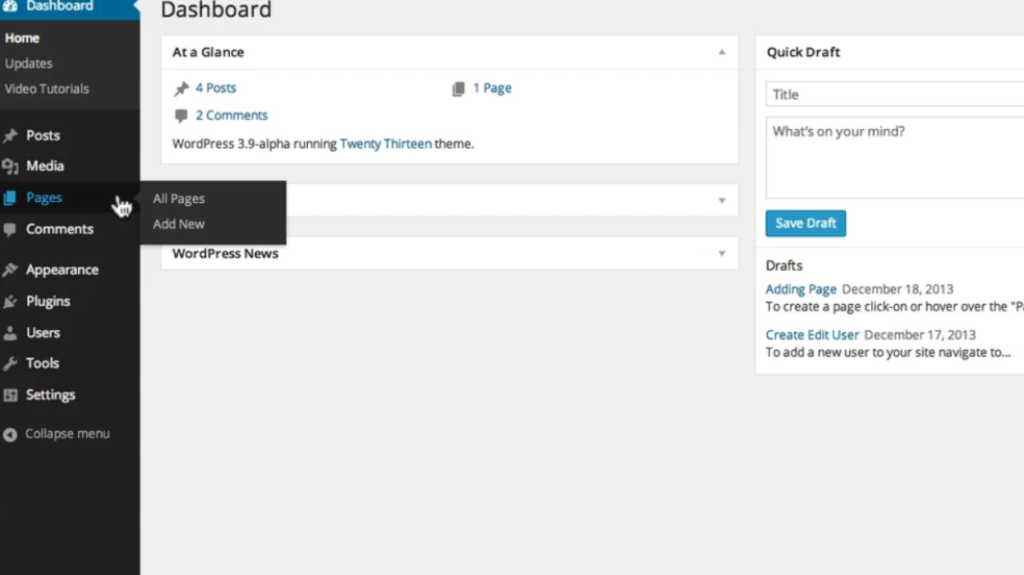
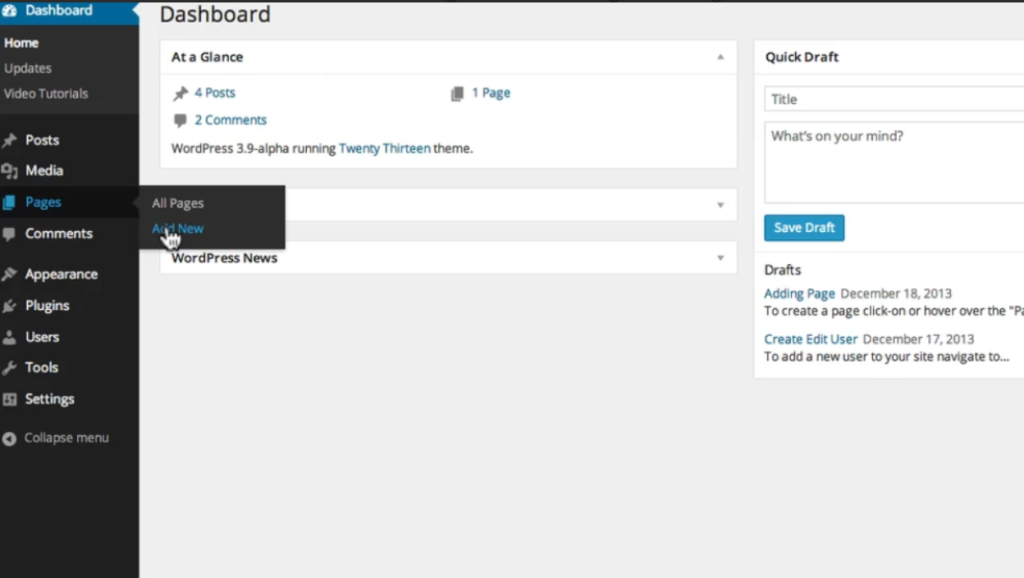
2. Once logged in, you will see a sidebar on the left-hand side. Navigate to either “Posts” or “Pages” and click on “Add New.” For this example, we will be creating a new post.
3. After clicking on “Add New,” you will be directed to the Gut editor, which is the default editor for WordPress. You can find more information about the Gut editor in another video.
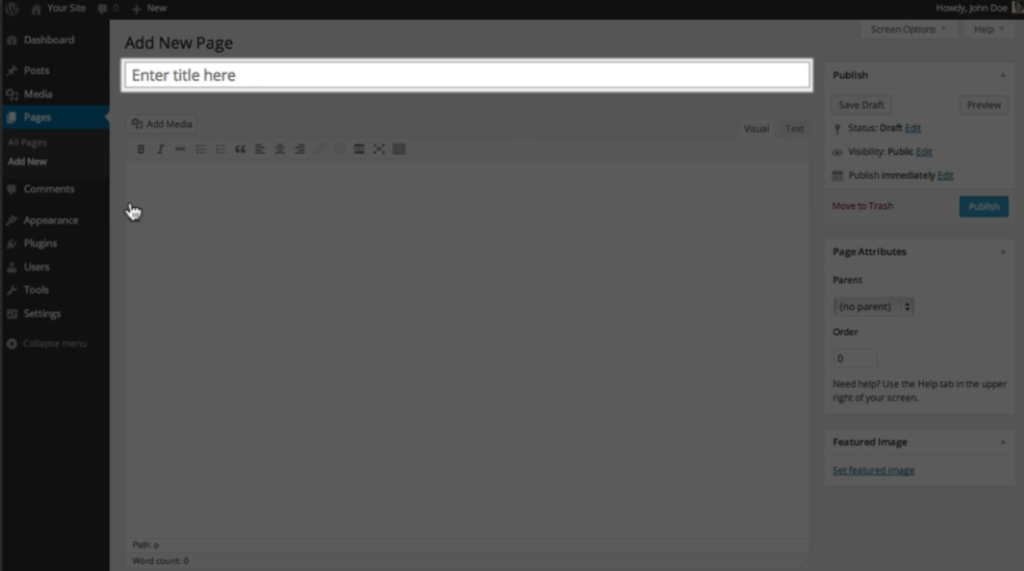
4. Start by adding a title to your page. The title block is required and cannot be removed like other blocks.
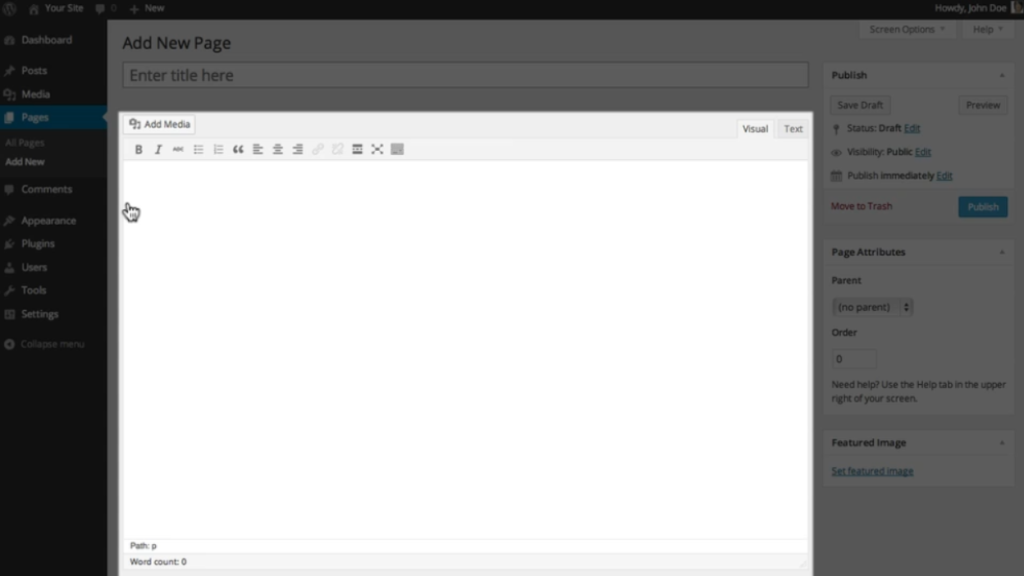
5. Next, you can start adding your content to the default block that is already created. You can add text, images, videos, and more using various blocks available in the editor.
6. If you prefer the classic content editor from previous versions of WordPress, you can change the block type to “Classic.” This option is available in the block settings.
7. In case you have already added your content and decide to switch to blocks, you can click on the options button and select “Convert to Blocks.” This will automatically convert any content, such as images or text, into their respective block types.
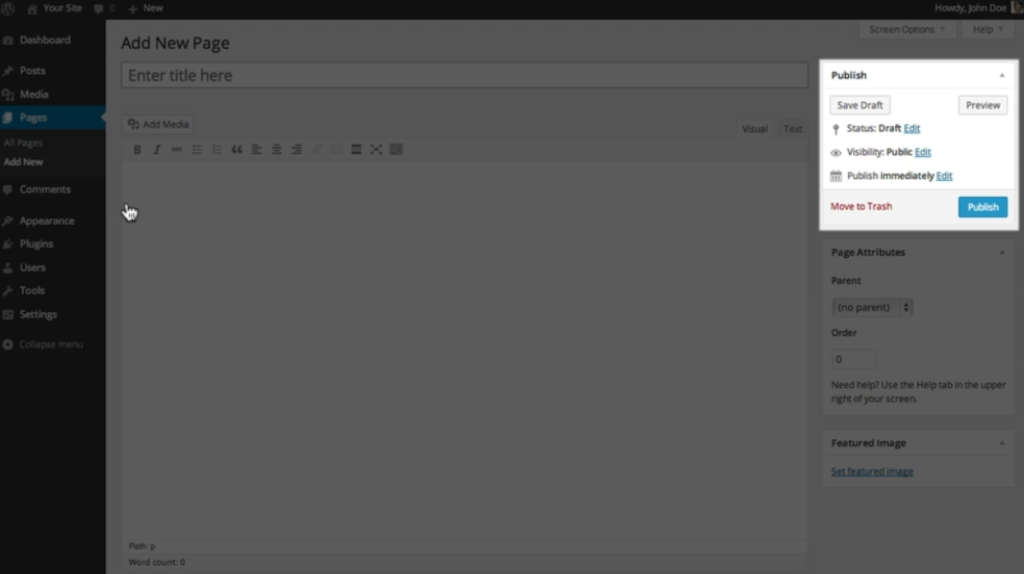
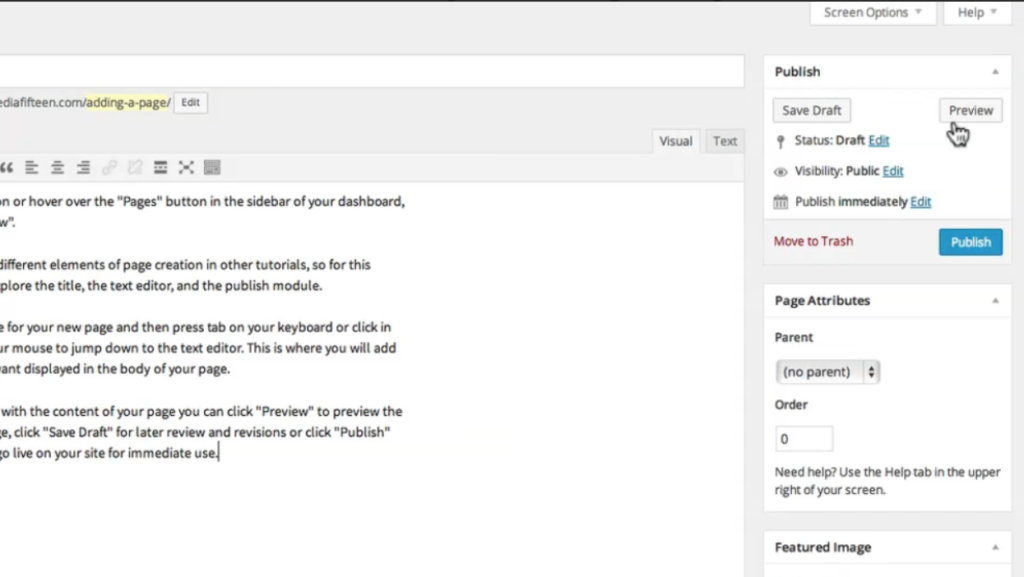
8. Once you are satisfied with your content, you can preview what your post or page will look like. Click on the “Preview” button to see how it will be displayed to your website visitors.
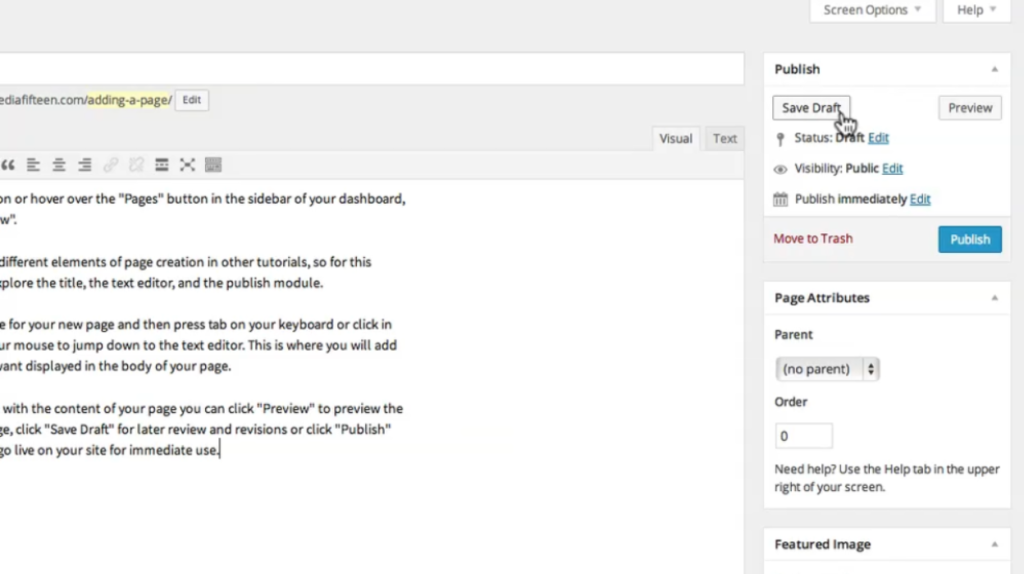
9. If you are still making changes and not yet ready to publish, make sure to save your document as a draft. You can do this by clicking on the “Save Draft” button.
10. Finally, when you are ready for your post or page to go live, click on the “Publish” button to make it visible to your audience.
Using WordPress to create posts and pages is relatively straightforward with its user-friendly interface. Follow these steps, and you’ll be able to create and publish content on your website in no time.

Leave a Reply