When it comes to embedding videos in posts and pages, WordPress provides several blocks to make the process as easy as possible. To get started, follow these steps:
1. Log in to your WordPress dashboard.
2. Navigate to the post or page where you want to add a video.
3. Click on the plus icon (+) where you want to embed the video.
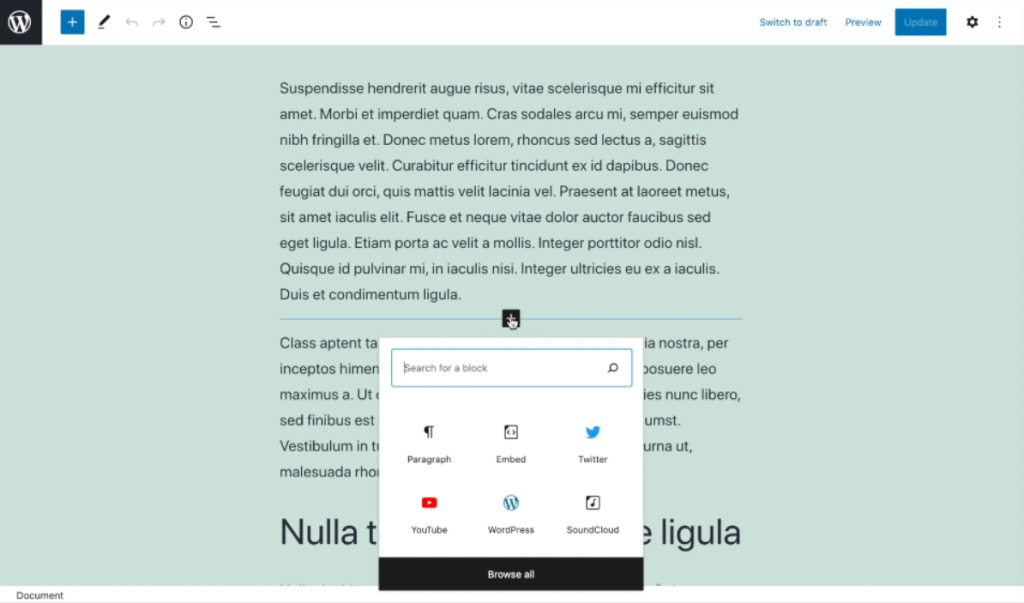
4. In the block library, click on “Browse all” at the top.
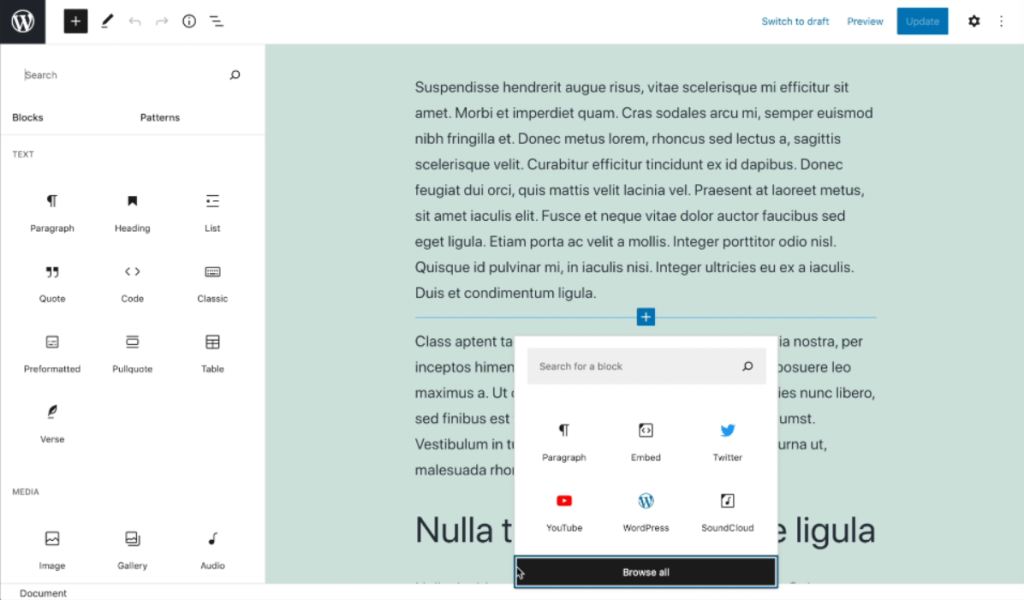
5. Scroll down to the embed section of the block library to see the available sources.
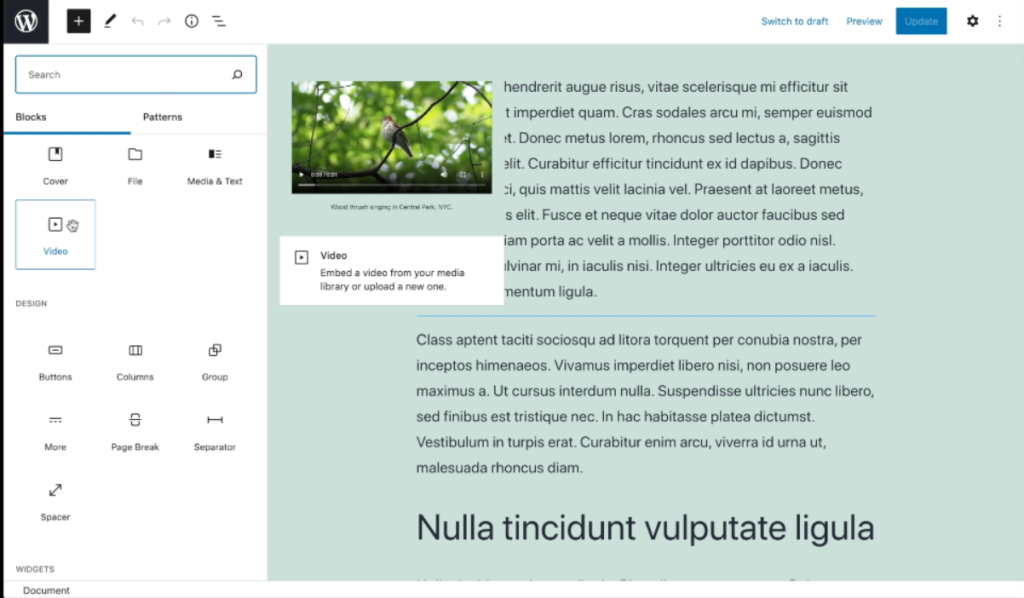
6. WordPress includes dedicated blocks for video embed from YouTube, Flickr, Vimeo, and more. Select the appropriate block based on your video source.
7. Alternatively, you can use the generic embed block to include content from other sources or the video block from the media section of the block library.
8. Once you’ve chosen the appropriate block, a field will appear where you can paste the URL for the video you want to embed.
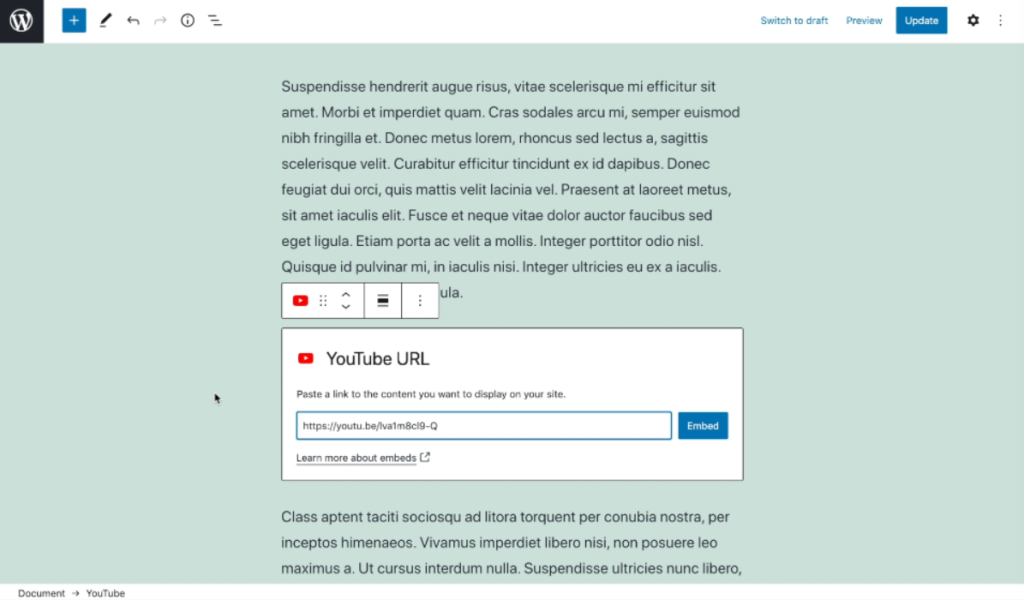
9. To embed a video you’ve uploaded to your WordPress site or saved on your computer, simply copy the video’s URL and paste it in the field provided.
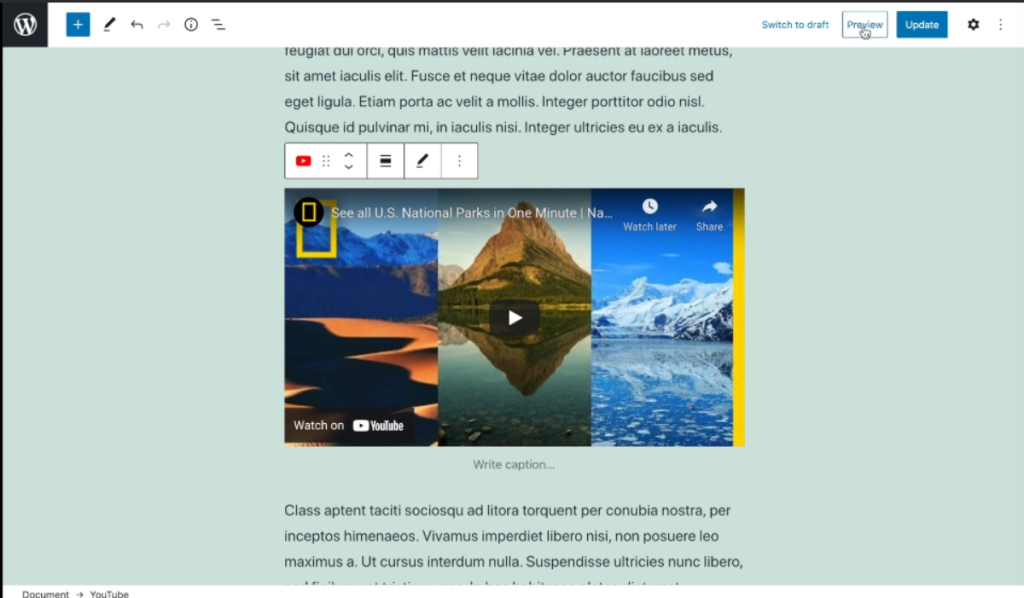
10. If you’re embedding content from a third-party platform, you can typically find the appropriate URL in the video sharing settings.
11. After pasting the URL, you should see the video preview automatically appear in the block.
12. To see how your video looks on the front end of your website, click on the preview button (eye icon) in the top toolbar.
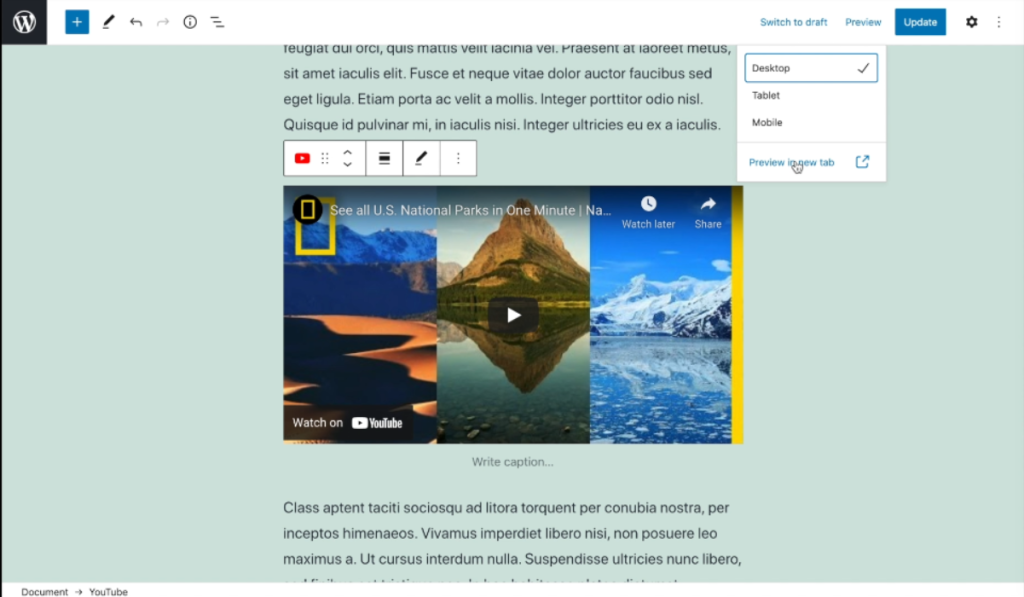
13. Make any necessary adjustments, such as resizing the video or changing its alignment, using the block’s settings options.
14. Once you’re happy with how the video looks, click on “Publish” or “Update” to make your changes live on your website.
By following these steps, you’ll be able to easily embed videos in your WordPress posts and pages, enhancing the visual appeal and engagement of your content.

Leave a Reply