Lists are a common feature in web content. They make it easier for readers to quickly scan your posts and pages and pick up key details. Here’s a step-by-step guide on how to add a list to a post or page in WordPress:
1. Log in to your WordPress dashboard.
2. Go to your post or page editor where you want to add the list.
3. Click on the plus icon in the block editor. It’s usually located at the top-right corner of the screen.
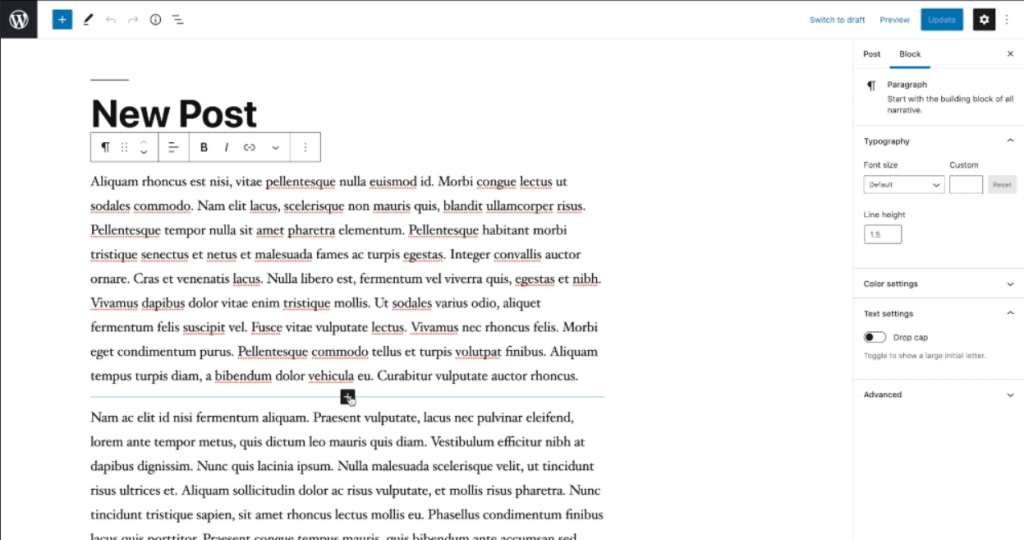
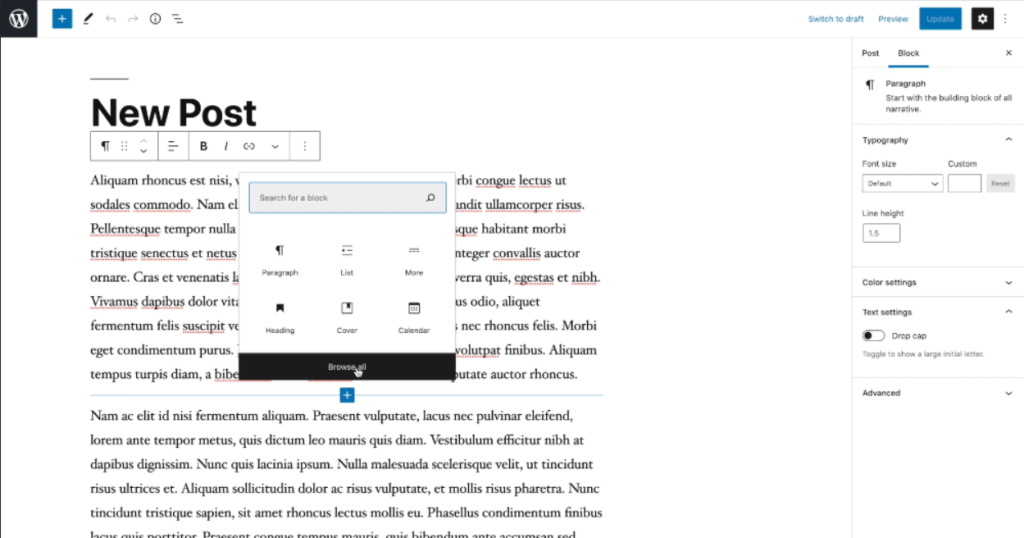
4. A list of available blocks will appear. Click on “Browse all” to see all the available block options.
5. In the search bar provided, enter “list” and hit enter.
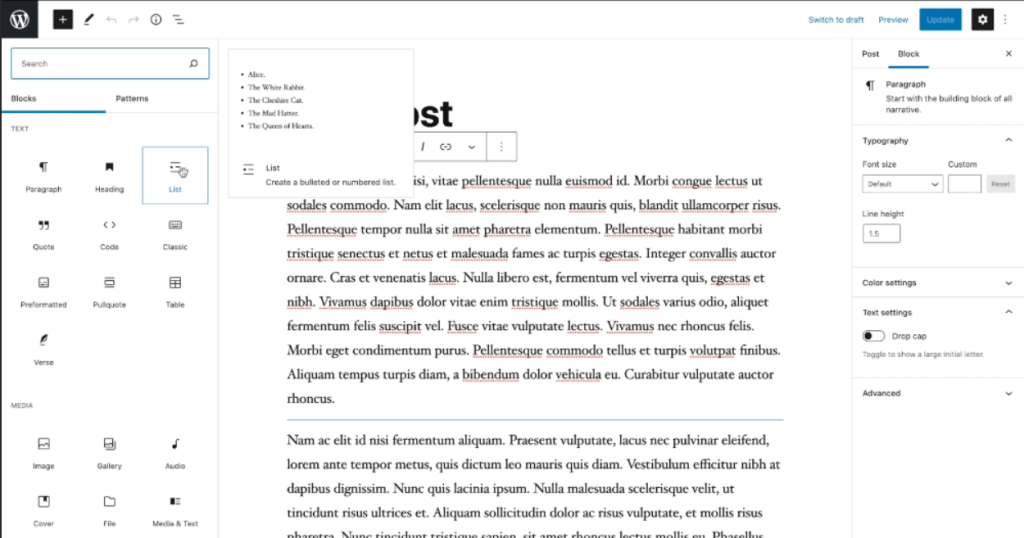
6. The list block will appear in the list of available blocks. Click on it to select it.
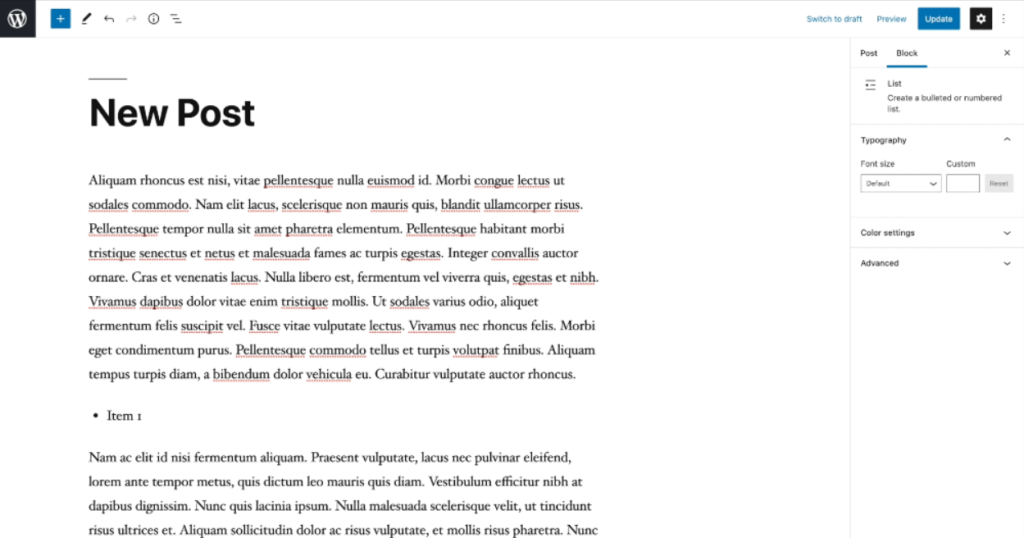
7. By default, WordPress will create an unordered or bullet point list. You can start typing your first item directly in the list block.
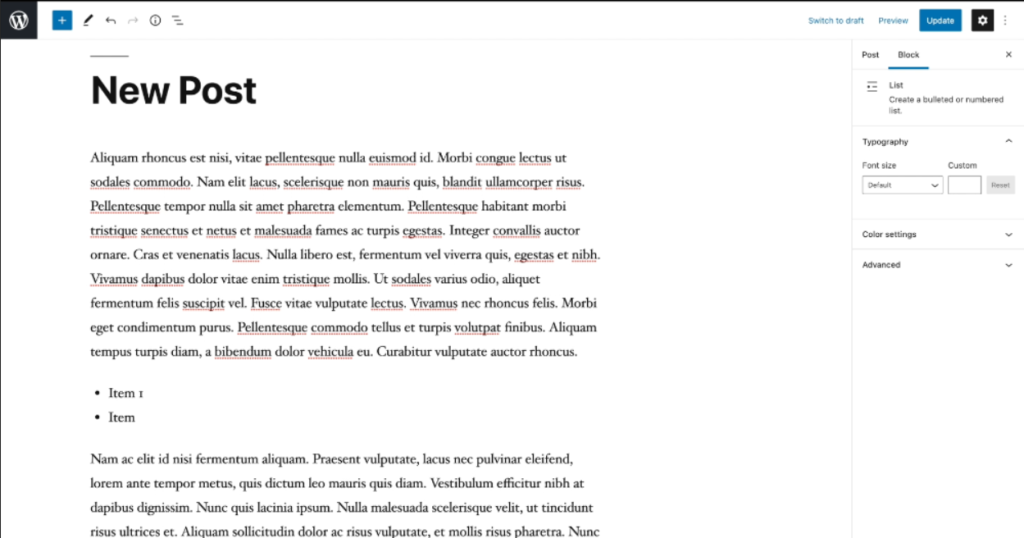
8. After typing your first item, hit the enter key to add another item to the list. WordPress will automatically create a new bullet point or list item for you.
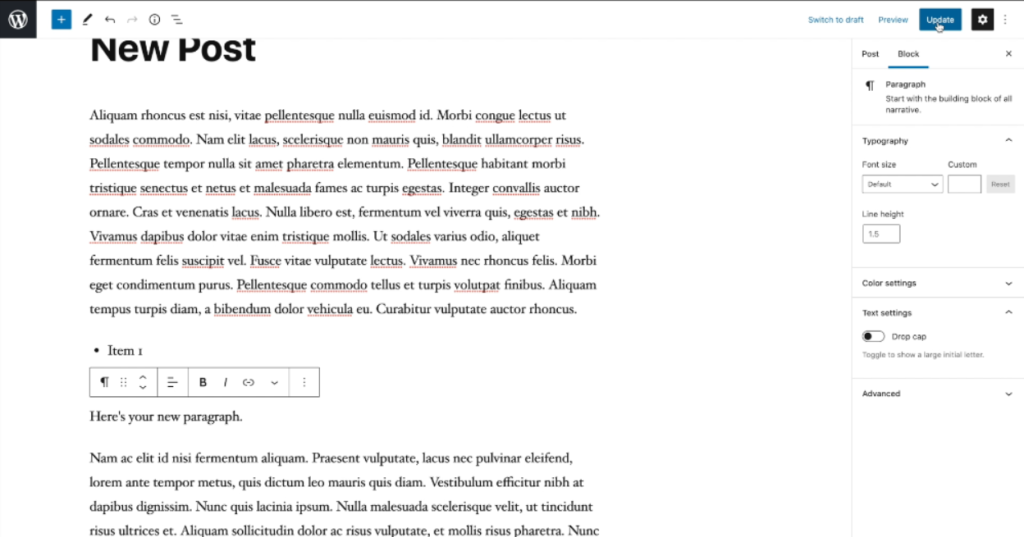
9. Continue typing your list items and hitting the enter key for each new item.
10. If you want to convert your unordered list into an ordered list, just click on the numbered list icon in the list block toolbar. It looks like a series of horizontal lines with numbers beside them.
11. If you want to switch back to an unordered or bullet point list, simply click on the bullet point list icon in the list block toolbar. It looks like a series of horizontal lines with dots beside them.
12. Once you’ve finished writing your list, hit the enter key twice to create a new paragraph or click on the plus icon again to add a different block.
13. Lastly, remember to save or update your post or page when you’re finished making changes. This ensures that your list is saved and published to your website.
That’s it! You’ve successfully added a list to your WordPress post or page. Keep in mind that you can customize your list further by adjusting the formatting options provided by the block editor.

Leave a Reply